A step-by-step guide for capturing, documenting, and sharing miracle testimonies from crusades
Last updated: February 2026
This video from @nctcdallas is a great reference for the format we want to follow.
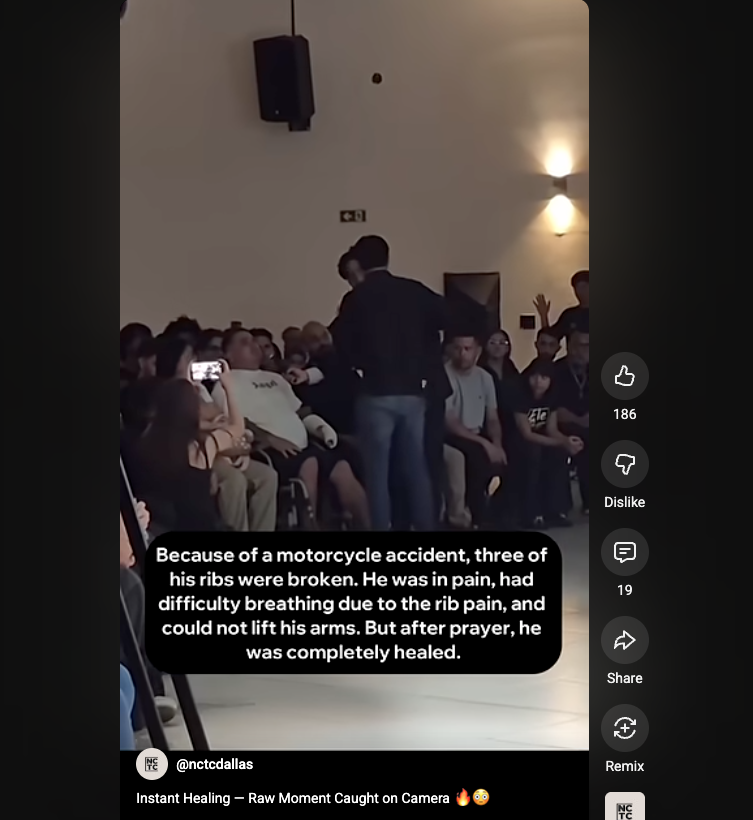
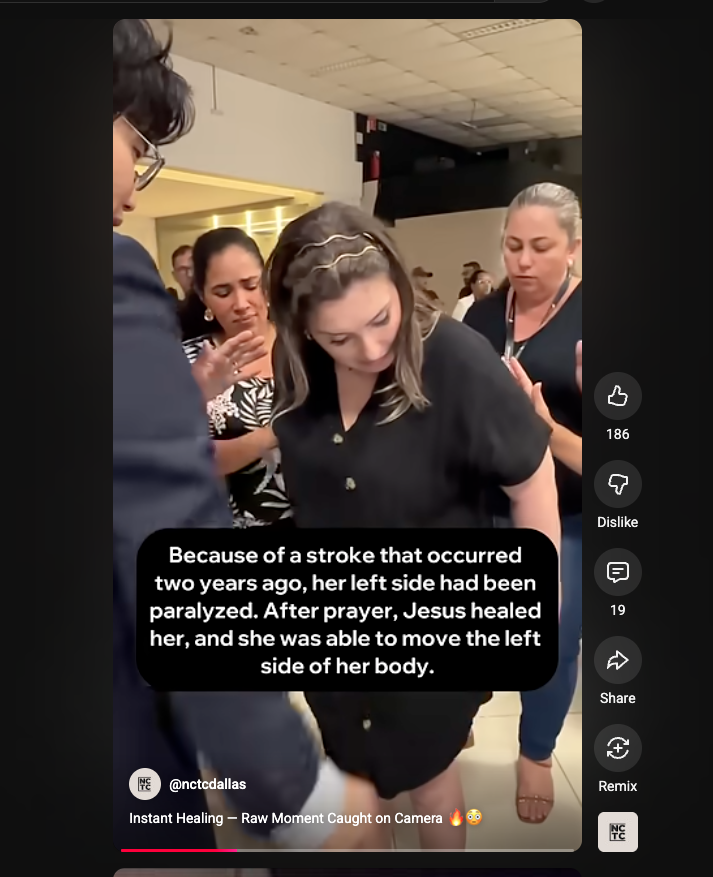
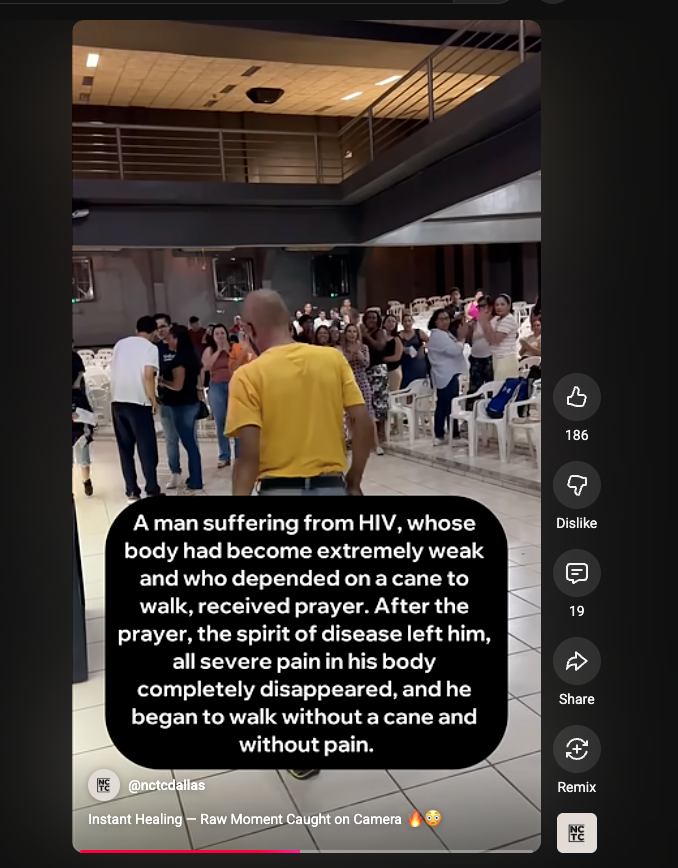
Screenshots from @nctcdallas showing the text overlay format: condition before prayer + what happened after.
Assign one person whose sole responsibility during the crusade is to capture miracle moments on video. This person should NOT have other ministry duties during the service so they can stay focused on filming.
⚠️ This is the most critical step. Without a dedicated person, miracle moments will be missed.
Make sure the videographer has everything they need before the crusade begins.
All footage should be filmed in vertical/portrait orientation (9:16 aspect ratio). This is the native format for YouTube Shorts, TikTok, and Instagram Reels, which is where these clips will be published.
⚠️ Do NOT film in landscape/horizontal. Vertical video is essential for Shorts.
Before the service, talk with the prayer team about positioning. The videographer needs to know where prayer will happen so they can be in the right place at the right time.
Move between different areas where prayer is happening to capture various angles and miracles. Don't stay in one spot the whole time.
Start recording BEFORE the prayer begins and keep filming through the miracle moment. The key is to capture the actual moment of healing, not just the before or after.
⚠️ Film the prayer itself, not just the reaction afterward. The moment of healing is the most powerful footage.
When possible, get close enough to capture the person's face and body language. The emotional impact of seeing someone healed is what makes these videos powerful.
Don't stop and start between miracle moments. It's better to have too much footage than to miss something. You can always cut later during editing.
After the miracle, approach the person (or have someone on the team approach them) and collect their information.
⚠️ This is essential for follow-up and getting permission to publish. Don't skip this step.
Document what the person's condition was BEFORE the prayer. Be specific about the ailment, injury, or condition.
Document exactly what changed after the prayer. Again, be specific.
If the person is willing, record a short video of them sharing their testimony in their own words. This is optional but extremely powerful content.
Record the date and specific location (city, venue name) of the crusade where the miracle happened. This is important for organizing and labeling the content later.
Reach out to the person within 1-2 weeks after the crusade to check in on them.
Verify that the miracle is lasting. This is important both for the person's wellbeing and for the integrity of the testimony when published.
Explicitly ask the person for their permission to use the video footage in a published YouTube video.
⚠️ ALWAYS get permission before publishing. Never publish footage of someone without their consent.
Edit the footage down to ONLY the moments of prayer and healing. Do not include the full service, worship, or preaching.
⚠️ Only the prayers of those that received miracles. Not the whole service.
Combine miracle clips from different locations and moments into a single compilation video. This creates a powerful montage showing multiple healings.
YouTube Shorts can be up to 3 minutes long. Keep individual clips concise and impactful -- aim for under 3 minutes per Short.
The final video must be in vertical/portrait format (9:16 aspect ratio). If any footage was accidentally filmed horizontally, crop or letterbox it to fit vertical.
Add a text overlay at the bottom of the video that describes what happened. This should include the condition before prayer and what happened after.
⚠️ The text overlay is what makes scrollers stop and watch. It needs to be clear and compelling.
Include Encounter branding in the video -- either as a watermark, intro/outro card, or in the video description.
The title should grab attention and the description should provide context.
Upload the vertical video to YouTube. If it's under 3 minutes and vertical, YouTube will automatically categorize it as a Short. Add #Shorts to the title or description to ensure it gets the Shorts treatment.
Post the same vertical video across all platforms to maximize reach. The same video format works on all of them.